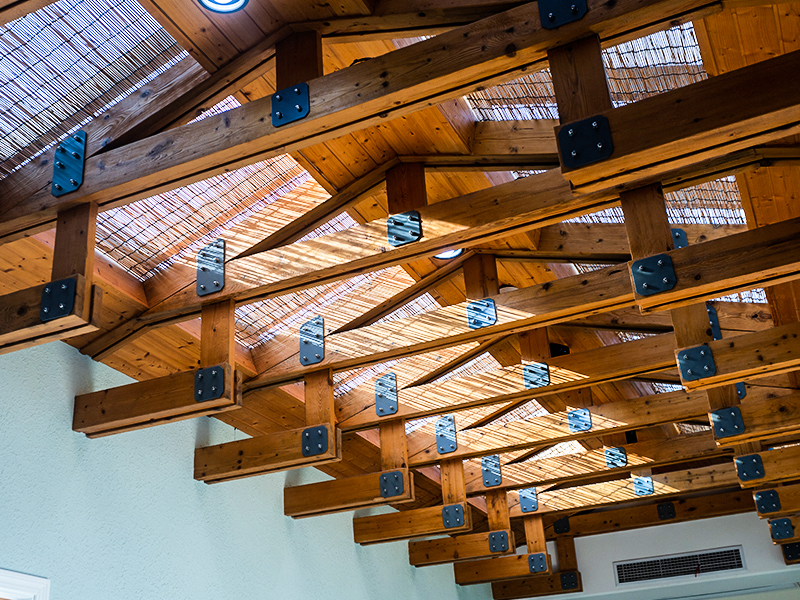
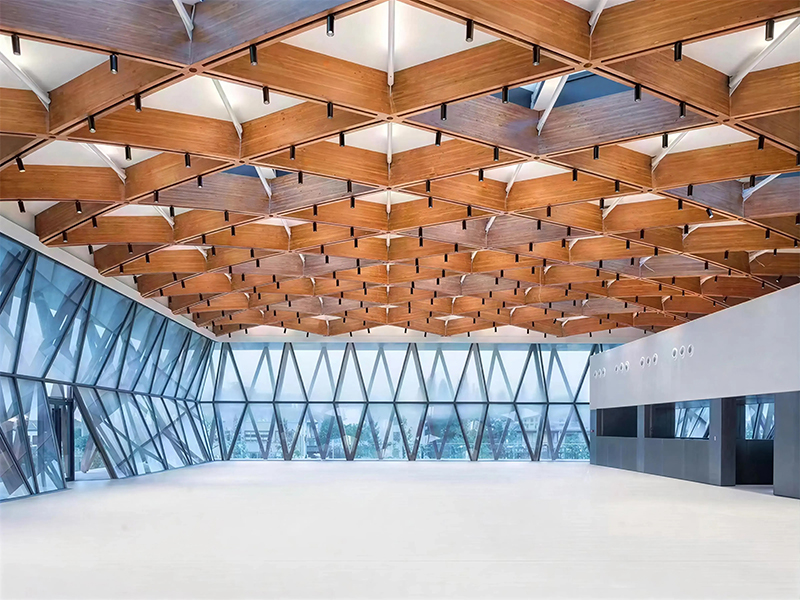
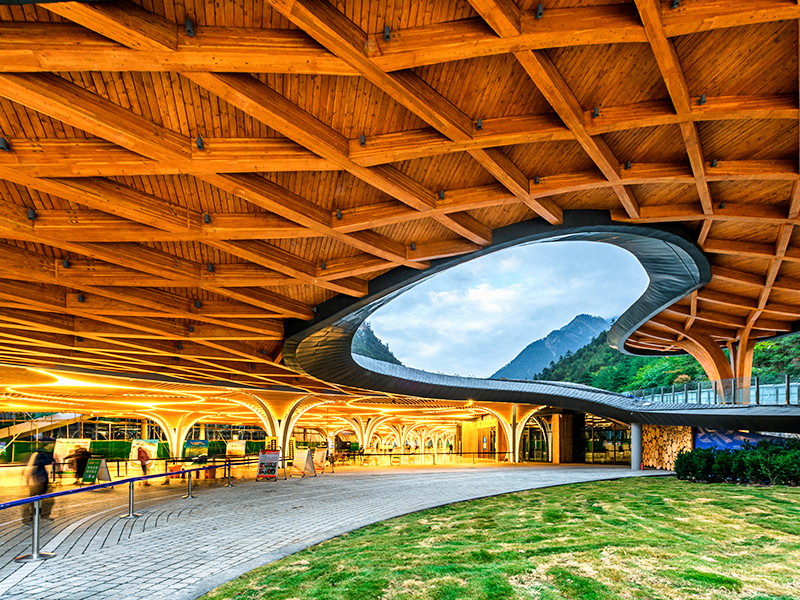
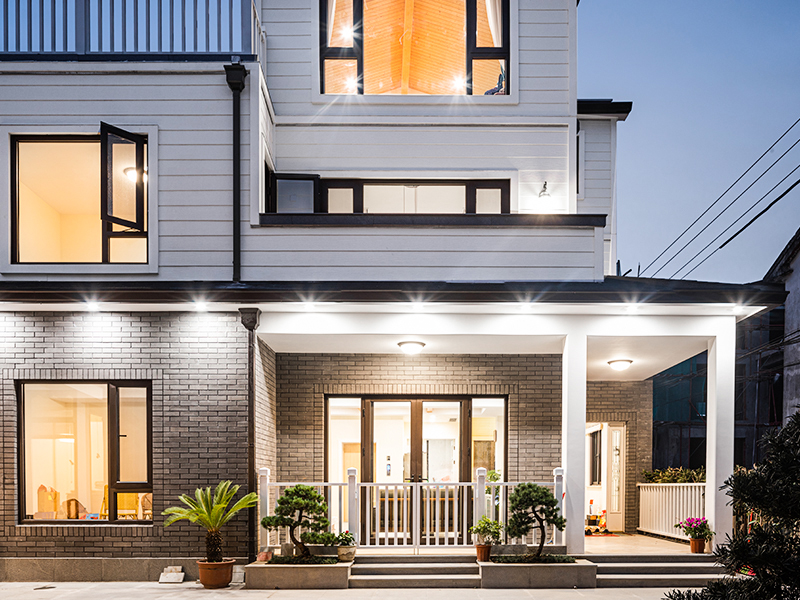
Wooden roof trusses are prefabricated triangular framing structures made primarily from softwood lumber connected with metal connector plates, designed to span large roof areas while distributing weight evenly to the supporting walls. The most common types — King Post, Queen Post, Fink, and Howe trusses — each suit different span lengths and roof pitches, with spans typically ranging from 4 meters to over 20 meters depending on truss design and timber grade. Proper design requires careful calculation of load, span, spacing, and pitch, while correct installation depends on accurate bearing point alignment, temporary bracing, and secure permanent fastening.
What Are Wooden Roof Trusses?
A wooden roof truss is a triangulated framework of timber members engineered to support roof loads over a clear span without requiring internal load-bearing walls. Trusses are typically manufactured off-site in a factory setting using precision-cut lumber and galvanized steel connector plates, then transported to the construction site for installation.
Core Components
- Top chords — the sloped outer members that follow the roof pitch
- Bottom chord — the horizontal member that ties the base of the truss together and often supports the ceiling
- Webs — diagonal or vertical internal members that transfer load between chords
- Connector plates — galvanized steel gusset plates that join members at each joint
Compared to traditional rafter-and-ceiling-joist roof framing, trusses can reduce material usage by up to 30% while allowing for longer spans and faster on-site assembly, since most of the labor-intensive cutting and joining is completed in the factory.
Common Structural Types of Wooden Roof Trusses
Different truss designs are suited to different spans, loads, and architectural styles. The table below summarizes the most widely used types.
| Truss Type |
Typical Span |
Best Suited For |
| King Post Truss |
4–8 meters |
Small residential roofs, garages, sheds |
| Queen Post Truss |
8–12 meters |
Medium-span homes, attic conversions |
| Fink (W) Truss |
6–18 meters |
Most residential and light commercial buildings |
| Howe Truss |
10–20 meters |
Larger spans, barns, warehouses |
| Scissor Truss |
6–14 meters |
Vaulted or cathedral ceilings |
| Attic Truss |
8–14 meters |
Homes requiring usable attic floor space |
Comparison of common wooden roof truss types by span and application
King Post Truss
The simplest and most economical design, using a single vertical post connecting the apex to the bottom chord. Ideal for short spans under 8 meters, such as garages, porches, and small outbuildings.
Queen Post Truss
Uses two vertical posts instead of one, providing greater stability for medium spans and creating open space between the posts that can be used for storage or attic access.
Fink (W) Truss
The most widely used truss type worldwide due to its efficient W-shaped web configuration, which offers an excellent balance of material efficiency and load capacity across a broad range of spans.
Key Design Considerations
Designing a wooden roof truss system requires balancing structural performance, cost, and architectural requirements. The following factors are essential for any project.
Span and Load Calculation
Truss span must account for dead loads (the truss's own weight plus roofing materials) and live loads (snow, wind, and maintenance access). Standard residential trusses are typically designed for live loads of 0.96 kPa to 1.5 kPa, but this varies significantly by regional building codes and climate conditions.
Truss Spacing
Most residential trusses are spaced at 600 mm or 610 mm centers (24 inches), though spacing of up to 1,200 mm is possible with heavier timber sections or supplementary purlins. Wider spacing reduces material cost but requires thicker roof decking to span the gap.
Roof Pitch
Pitch affects both aesthetics and structural load paths. Steeper pitches (above 30 degrees) shed snow and rain more effectively but increase wind load exposure, while lower pitches (15–25 degrees) reduce material height but require more attention to drainage detailing.
Timber Grade and Treatment
- Structural-grade softwood such as spruce-pine-fir (SPF) or southern yellow pine is most common
- Pressure-treated or preservative-treated timber is recommended for trusses exposed to moisture or in humid climates
- Moisture content should be kept below 19% at time of installation to prevent warping and connector plate loosening
Step-by-Step Installation Guidelines
Proper installation sequence is critical to truss performance and worker safety. Follow these general steps, always in accordance with the truss manufacturer's engineering drawings and local building codes.
- Verify that wall plates and bearing points are level, square, and properly anchored before delivery of trusses
- Inspect each truss on delivery for damage, warping, or missing connector plates
- Lift the first truss into position using a crane or manual lifting for smaller spans, aligning it precisely with the end wall
- Install temporary bracing immediately to hold the first truss vertical and prevent toppling
- Set subsequent trusses at the specified spacing, securing each with temporary braces before moving to the next
- Fasten each truss to the wall plate using approved truss-to-wall connectors (such as hurricane clips or truss tie-downs)
- Install permanent lateral and diagonal bracing as specified in the engineering drawings, particularly along the bottom chord and web members
- Remove temporary bracing only after permanent bracing and sheathing are fully installed
Skipping temporary bracing is the leading cause of truss collapse during installation — even a single unbraced truss can fall under wind load or worker movement, so bracing should never be delayed for convenience.
Common Installation Mistakes to Avoid
| Mistake |
Risk |
Prevention |
| Cutting or modifying trusses on site |
Severely weakens load capacity |
Order custom trusses for any non-standard openings |
| Inadequate temporary bracing |
Trusses topple during installation |
Brace every truss immediately upon placement |
| Incorrect spacing |
Roof decking sags or fails under load |
Follow engineered spacing exactly, verify with a tape measure |
| Overloading trusses with storage or HVAC equipment |
Exceeds design load, causes sagging or failure |
Consult engineer before adding point loads |
| Ignoring moisture protection during storage |
Warping, connector plate corrosion |
Store trusses off the ground, covered, before installation |
Common installation mistakes for wooden roof trusses and how to prevent them
Wooden roof trusses offer an efficient, cost-effective, and structurally reliable solution for spanning roof areas without internal load-bearing walls. Choosing the right truss type — whether King Post, Queen Post, Fink, or Howe — depends primarily on span length, load requirements, and architectural intent, while careful attention to span calculations, spacing, and timber grade ensures long-term structural performance. During installation, proper bracing sequence and adherence to engineered drawings are non-negotiable for safety and durability. By following these design and installation principles, builders and homeowners can achieve a roof structure that performs reliably for decades while optimizing material usage and construction time.

 中文简体
中文简体
 English