Many homeowners choose an awning for the shade and rain protection it provides, then realize too late that their mounting surface is not strong enough. A simple patio awning can act like a sail in gusty conditions, pulling on the wall with far more force than its own weight. That is why the first step is to understand what will hold the awning up. In this guide, we will cover the structural checks, wall finish issues, and material choices that make a house awning installation safe and durable.
Find a solid structural anchor behind the wall surface
The strongest mounting point in most walls is the framing. On a typical house, that means the rim joist, a structural header above a window or door, or a continuous backing board installed specifically for heavy brackets. These framing members are located behind the exterior finish, so you often need to work from inside the house to identify their position. A stud finder can locate vertical studs, but it may not tell you whether there is a horizontal rim joist at the height you need. In many cases, checking the attic or the basement floor structure is the fastest way to confirm where the structural members run.
Wind pressure is usually the deciding factor. A retractable awning can be stressed by gusts equal to several times its own weight. If your region has frequent storms, you need brackets rated for that load and a frame that transmits the force evenly back to the structure. Snow load is less common on awnings because most are angled downward, but a steep canopy on a northern wall can still accumulate ice and snow if the slope is too shallow. The standard recommendation is a slope of at least 5 degrees for water runoff, and 15 degrees if you live in a snow-prone zone.
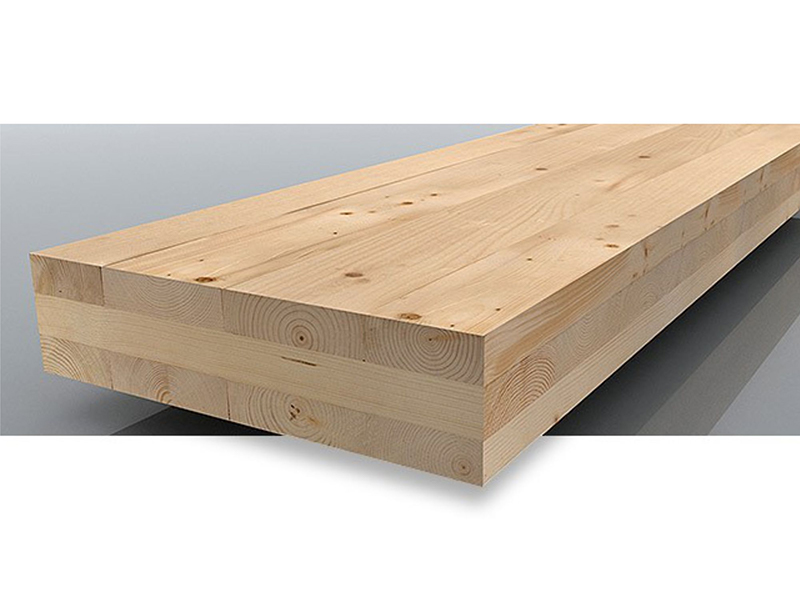
If the wall you are using is made of timber frame construction, a cross-laminated timber panel can provide a continuous, stiff anchor layer. Instead of hunting for studs every few inches, you can mount the awning bracket anywhere on the panel, which is especially helpful with large or shaped awnings. A CLT panel also spreads the load over a wider area, reducing the risk of point failure around the screws. This is one reason why wood-frame houses with CLT walls are easier to adapt for outdoor attachments than thin-skinned walls.
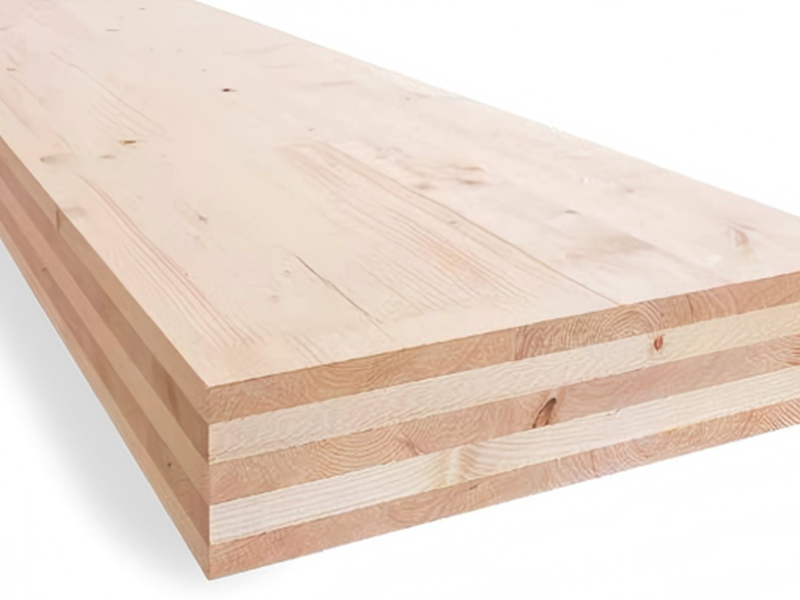 Douglas Fir CLT Structural Panel for Awning MountingThis engineered wood panel provides a continuous, stiff anchor layer for awning brackets. It distributes loads evenly, reducing point failure risk on timber-frame walls, and is ideal for large or shaped awnings.View Product →
When wall mounting is not possible: roof and soffit mounts
Some exterior walls simply do not have enough framing to support an awning. This can happen on a brick veneer house with no header behind a particular section, or on a wall that is mostly glass. In that case, a roof mount or soffit mount is a common alternative. With a roof mount, the brackets attach to the rafters or the roof deck, and the awning hangs down over the wall. With a soffit mount, the brackets attach to the underside of the overhang, which works well for narrow shade panels. The key consideration for both is drainage: the awning must slope away from the house, and the mounting hardware must be sealed to keep water from entering the roof or soffit structure.
How different exterior wall finishes affect the installation
Your choice of mounting hardware changes with the wall finish. Brick, vinyl siding, and stucco each demand a different strategy, and using the wrong one is the most common cause of leakage and hardware failure.
This table summarizes the main installation considerations for common exterior wall finishes.
| Wall finish |
Recommended anchor strategy |
Common issue |
| Brick veneer |
Find the rim joist or structural header behind the brick. Drill through the brick face, not the mortar. |
Mortar is brittle and will not hold a load-rated bracket. |
| Vinyl or aluminum siding |
Remove or cut the siding to reach the framing, then install a mounting block or wood backing. |
Mounting through the siding alone can tear the panel and cause leaks. |
| Stucco |
Use a masonry drill and a long anchor that reaches the wood or steel wall frame. |
Stucco is hard but thin; screws that only penetrate the stucco skin will pull out. |
There is an easy rule to remember: never anchor into the cosmetic layer. Whether that layer is mortar, siding panels, or the outer skin of stucco, it is not designed to carry a heavy bracket. Always reach the structural frame behind it. On brick, do not drill into the mortar. On vinyl or aluminum siding, remove the piece or use a mounting block. On stucco, use a long anchor that extends into the wood or steel frame. If you follow this rule, the finish will stay intact and the awning will remain secure for years.
Choosing the right frame material for the awning
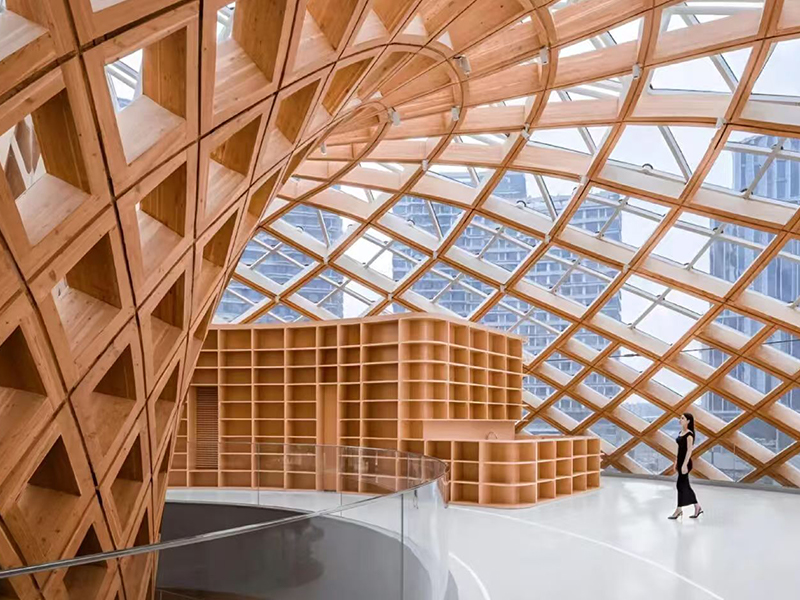
The frame material affects the look, the weight, and the maintenance schedule. Aluminum is light and corrosion-resistant, but it can feel cold and industrial. Steel is strong but heavy and needs rust protection. Wood, especially engineered wood, offers a natural warmth that matches timber-framed houses and outdoor living spaces. Glued laminated timber, or glulam, is an excellent choice for awning frames because it is made from layers of wood bonded with structural adhesive. This construction gives it higher strength than a solid piece of wood and allows it to span wider openings without sagging. It can also be shaped into curved profiles for a more graceful canopy design. For a detailed technical comparison, see our article on glulam versus solid wood.
Glulam can be treated with a weather-resistant finish or left natural with a sealer, depending on the design intent. For an awning frame, the finish should also protect the end grain, because moisture can travel up the wood fibers and cause checking. In practice, many manufacturers use a tinted transparent oil or a two-part polyurethane coat. If you are matching the awning to existing timber cladding, the same treatment will keep the colors consistent.
On classic straight canopies, a straight beam glulam member keeps the design tidy while providing the load path from the awning to the wall brackets.
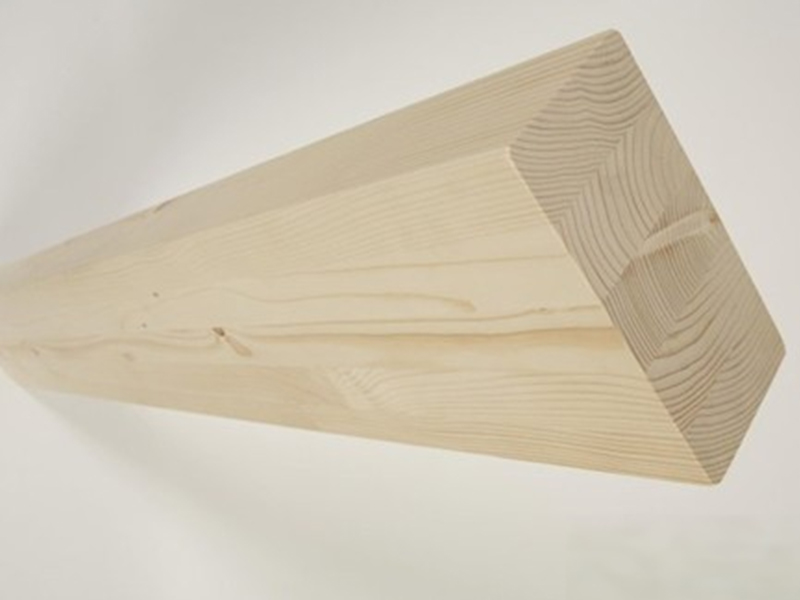 Straight Beam Glued Laminated Timber for Awning SupportThis glulam beam offers high strength and dimensional stability for classic straight canopies. It provides a clean load path from awning to brackets, while its fire resistance adds safety to the structure.View Product →
Decorative cladding and the visible connection
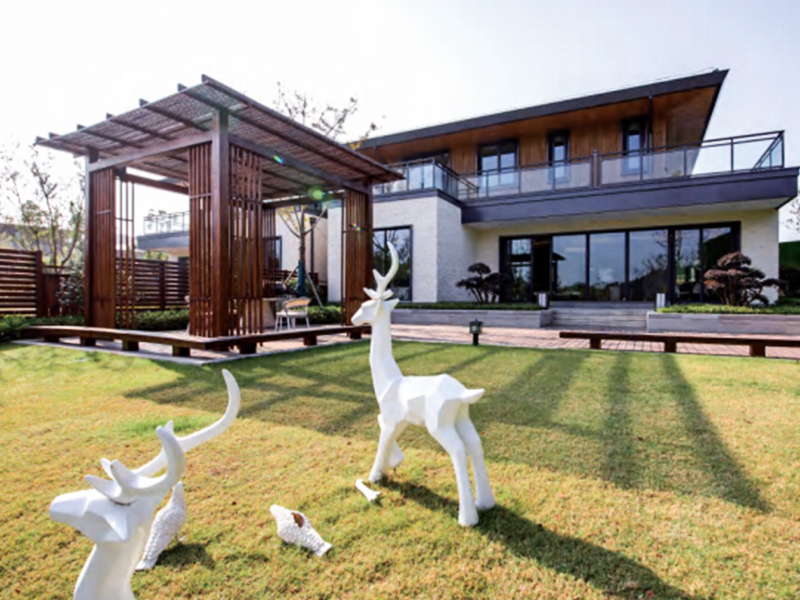
The junction between the awning frame and the wall is often where moisture gets in if it is not treated carefully. Any penetration through the exterior finish needs a properly sealed sleeve or cover, and the visible hardware should be protected from direct rain. On a wood-clad or timber-frame house, an exterior solid wood wall panel is a practical way to cover the mounting area. It finishes the transition with a material that matches the facade and adds an extra layer of protection against wind-driven rain. The panel can be cut to the shape of the bracket, and its natural grain hides minor imperfections around the fastener holes. This approach keeps the awning looking like a deliberate design choice rather than an afterthought.
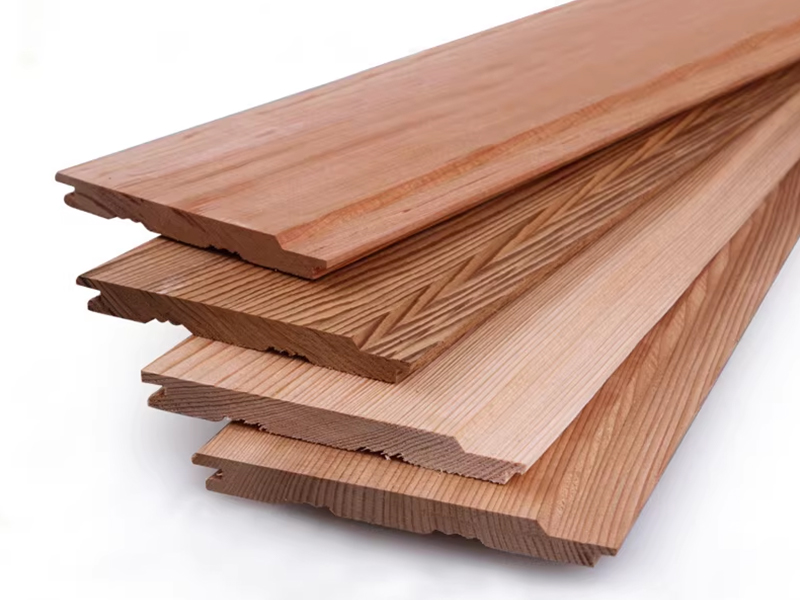 Exterior Solid Wood Wall Panel for Awning FinishThese panels cover the mounting area, sealing penetrations and protecting against moisture. They match wood-clad facades and hide fastener imperfections, ensuring a deliberate, finished look for the awning installation.View Product →
Installation checklist and professional support
Even with the right wall and frame material, the actual installation has to be done carefully. Here are the points that matter most in practice.
- Confirm the wall construction type and locate the structural frame.
- Use load-rated anchors designed for the actual wall material.
- Provide a proper drainage slope for the awning, typically 5 to 15 degrees.
- Check local building codes for snow and wind load requirements.
- Inspect and tighten all hardware once a year.
Two mistakes appear more often than any others. The first is using screws that are too short to reach the framing, which leaves the bracket attached only to the siding. The second is failing to seal the fastener holes, which leads to water intrusion and rot behind the wall. Both problems are hard to repair after the awning is in place. Because each house is different, a professional review of the attachment plan is usually worth the cost, especially on older or renovated walls. If you are working on a timber-frame or wood-clad exterior, our team can help you select the right components and verify the load path. Contact us through our inquiry page to share your project details.
Adding an awning to a house is not just a matter of picking a fabric and drilling two holes. The structure, the wall finish, and the frame material all have to work together. Start with a solid anchor, match the mounting method to your exterior, and choose a frame material that is strong enough to handle the weather in your area. With those decisions in place, the awning will become a reliable part of your home that improves both comfort and curb appeal.

 中文简体
中文简体
 English